Master UE5 Control Rig Tutorial: From Stiff Animations to Dynamic Character Magic
Unlock the secrets to creating dynamic, adaptive character animations in Unreal Engine 5 and leave robotic movements behind.
You know what's funny? I spent my first two years in game development fighting with animation systems, trying to make characters that didn't look like robots. I remember this one project at KIXEYE where I needed a character to aim at moving targets, and I was creating dozens of separate animation clips for every possible angle. It was a nightmare to manage, and the result still looked mechanical.
Then I discovered Control Rig in Unreal Engine, and honestly, it changed everything. Instead of pre-baked animations that never quite fit the situation, I could make characters that actually reacted to their world in real-time. Here's the thing - most beginners think animation is just about playing clips, but the real magic happens when your characters can adapt and respond dynamically.
If you're struggling with stiff, unnatural character animations, this UE5 Control Rig tutorial will show you exactly how I approach building responsive, lifelike character animation systems that actually work in real games.
Table of Contents
- Why Your Characters Feel Like Puppets (And What Control Rig Actually Does)
- Breaking Down the Control Rig Terminology That Actually Matters
- The FK vs IK Showdown: When I Use Each Approach
- Setting Up Your First Control Rig (The Way I Wish Someone Had Taught Me)
- Three Real Game Scenarios Where Control Rig Shines
- My Go-To Implementation Patterns (With All the Code You Need)
- The Performance Mistakes I Made (So You Don't Have To)
- What You'll Actually Gain from Mastering This
- Your Next Steps with Procedural Animation Using Control Rig
- Ready to Start Building Your First Game?
- Wrapping Up This UE5 Control Rig Tutorial Journey
Why Your Characters Feel Like Puppets (And What Control Rig Actually Does)
Control Rig is a powerful node-based system within Unreal Engine that allows developers to create flexible, dynamic, and procedural animations directly on characters and skeletal meshes. Here's the core problem it solves: those static, pre-baked animation clips that never quite fit what's happening in your game world.
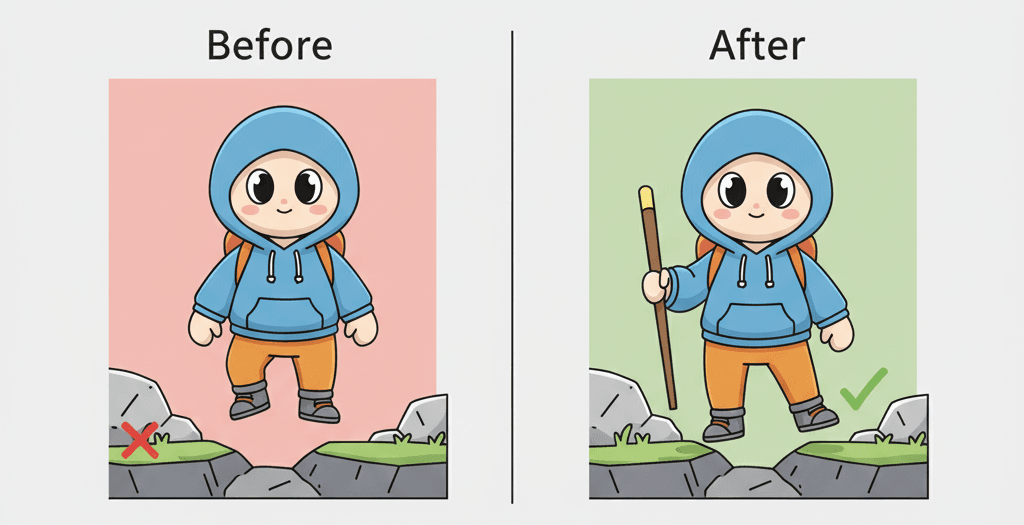
Been there? Your character is supposed to aim at an enemy, but the animation was made for aiming straight ahead, so it looks weird when the target is above or below. Or maybe your character's feet are floating because the ground isn't perfectly flat like in the animation studio.
Control Rig lets you create rigs that can be controlled by gameplay logic in real-time. Your characters can adapt their movements to different situations - aiming at a moving target, planting their feet on uneven ground, or interacting with objects that weren't there when the animation was made.
Think of Control Rig like a digital puppeteer's set of strings. Instead of just playing a recorded performance, you get direct control over the puppet's limbs to create new, adaptive performances on the fly, driven by the logic of the game itself.
Breaking Down the Control Rig Terminology That Actually Matters
Took me months to figure out what all these terms actually meant in practice. Let me break them down the way I wish someone had explained them to me:
- Rig Hierarchy: This is your Control Rig's foundational skeleton - the set of bones, controls, and spaces you can manipulate. It's separate from your character's main skeleton but drives it, giving you a clean layer of control. Think of it as your custom control panel for the character.
- Execution Stack: The series of operations your Control Rig performs in order, from top to bottom, each frame. This is where you define the logic - applying IK (Inverse Kinematics), setting bone transforms, or constraining movement. It runs every single frame, so keep it efficient.
- Forward Kinematics (FK): You directly manipulate a chain of bones by rotating each parent bone to achieve a final pose. Like moving a character's hand by rotating the shoulder, then elbow, then wrist in sequence. More predictable but less intuitive.
- Inverse Kinematics (IK): You define where you want the end of a bone chain to be, and a solver automatically calculates the rotations needed to get there. Want the hand at a specific position? Just move a target there, and the arm bends realistically to reach it. Way more intuitive for most tasks.
- Controls: Visual manipulators in the editor and data inputs at runtime that drive your rig's logic. These are your interface for animators and game logic to interact with the character. Like a control for hand position or where the head should look.
- Solvers: The nodes that perform complex calculations, with IK solvers being the most common. They take inputs like a target location and operate on bone chains to produce the desired pose automatically.
- Constraints: Rules you apply to bones or controls to limit their movement or rotation. Essential for preventing your character's elbow from bending backward or ensuring realistic joint limits.

The FK vs IK Showdown: When I Use Each Approach
Here's something that confused me for way too long - when do you use Forward Kinematics versus Character animation with Control Rig in UE5 using Inverse Kinematics? After years of trial and error, here's my practical breakdown:
| Criteria | Animation Blueprint | Control Rig |
|---|---|---|
| Best For | Playing and blending pre-made animation clips, managing complex state machines (e.g., locomotion, combat stances). | Procedural and adaptive animation, real-time IK, dynamic character-world interactions, and creating custom animation tools. |
| Performance | Highly performant for playing back baked animations, as the complex calculations are done offline. Blending can add overhead. | Can be more performance-intensive as it runs complex solver calculations every frame. Requires careful optimization. |
| Complexity | Simpler for standard animation playback and blending. Becomes complex when trying to adapt animations to dynamic world events. | Steeper learning curve initially, but provides a much cleaner and more powerful solution for complex, procedural animation logic. |
| Code Example | // In an Anim BP Event Graph, you would use a "Play Animation" node. |
// In a Control Rig graph, you would use an "IK" or "Aim" solver node. |
I usually start with Animation Blueprints for basic movement and transitions, then layer Control Rig on top for the dynamic stuff that needs to adapt to the game world.
Setting Up Your First Control Rig (The Way I Wish Someone Had Taught Me)
Actually, wait - before we dive into the technical setup, let me explain the two main events you'll work with, because understanding these changed how I approach every rig:
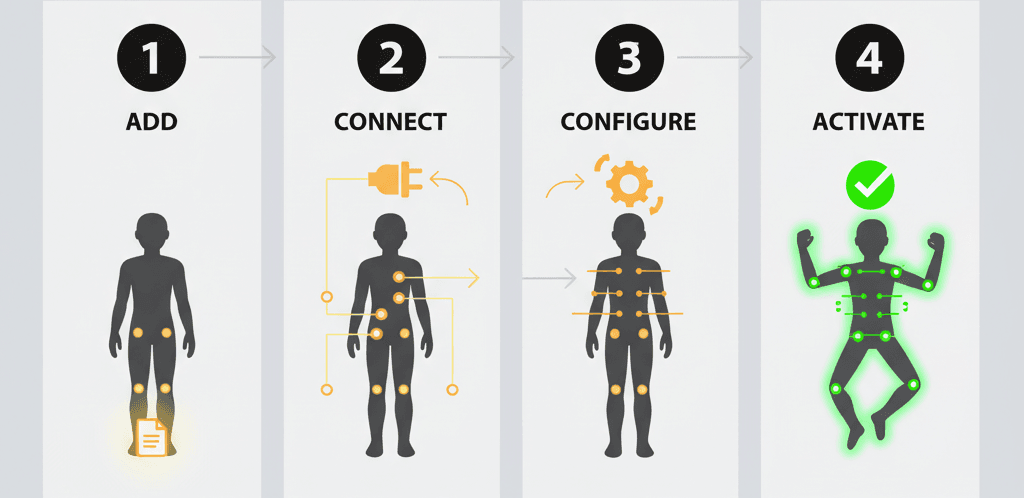
Setup Event: This runs once when the rig initializes. Use it to construct your rig hierarchy, create controls, and define the initial state. Think of it as your rig's constructor.
// In C++, the setup is handled by the UControlRig class initialization.
// The equivalent in the node graph is the "Setup" event.
void UMyControlRig::Setup()
{
    // Create a new control for the hand
    FRigControl HandControl = FRigControl("Hand_IK_Ctrl", ERigControlType::Transform, FTransform::Identity);
    RigHierarchy->AddControl(HandControl);
}
Update Event: This runs every single frame. The logic inside drives your dynamic, procedural animation as it continuously recalculates the character's pose based on changing gameplay variables.
// The Update Event in the node graph is where you'd place your per-frame logic.
// In C++, this logic would be called from an owning component's Tick function.
void AMyCharacter::Tick(float DeltaTime)
{
    Super::Tick(DeltaTime);
    // Update the Control Rig's input variables every frame
    if (MyControlRig)
    {
        MyControlRig->SetVariable("TargetLocation", NewTargetLocation);
    }
}
Here's the thing about Bone Chains - they're just sequences of connected bones like shoulder→elbow→wrist or thigh→calf→foot. Solvers operate on these chains to create natural motion:
// In the Control Rig graph, you define a chain by its first and last bone.
// For example, using the "Basic IK" node:
// Bone A: "upperarm_l"
// Bone B: "lowerarm_l"
// Effector Bone: "hand_l"
Spaces define the coordinate system for bone or control transformations. You can switch between local, parent, and world space for complex calculations. Like making a hand follow an object regardless of how the character's body moves:
// In the Control Rig graph, nodes like "Get Transform" and "Set Transform"
// have a "Space" input pin (e.g., Local, Global, Parent).
// Setting a hand's transform in Global space:
// SetTransform(Item: "hand_l", Space: "Global", Transform: TargetWorldTransform);
For detailed setup instructions, check the Unreal Engine Control Rig documentation.
Three Real Game Scenarios Where Control Rig Shines
I love studying how AAA games solve animation problems. Here are three examples that show the power of Unreal Engine 5 rigging system approaches:
The Last of Us Part II - Grounded Movement
The characters realistically plant their feet on uneven surfaces and navigate cluttered environments. Their bodies react convincingly to elevation changes.
The implementation uses a sophisticated IK system (similar to what you can build with Control Rig) that drives the lower body. Multiple raycasts detect ground beneath each foot, placing feet on contact points and adjusting hips and spine to maintain balance.
The result? Movement that feels incredibly grounded and believable. Characters feel like physical objects in the world, not floating capsules.
Gears of War - Cover System
The player character dynamically adjusts body posture to peek over or around cover, aiming with precision. The character's hands and body conform to cover object shapes.
You can use Control Rig for this behavior. An IK solver controls the character's spine and head to look towards the aim target, while constraints keep the body behind cover. Another IK setup ensures hands stay correctly positioned on the weapon.
The cover system feels fluid and responsive, creating tactical combat that's both strategic and satisfying.
Horizon Zero Dawn - Machine Animation
The large, complex machines have dynamic, procedural animations. Their legs adapt to terrain, heads track the player, and bodies react realistically to being hit or having parts destroyed.
A system like Control Rig is perfect for this. Multiple IK chains handle leg locomotion on any surface. Aim solvers control head and weapon tracking. The rig also generates secondary animations like cable physics or antenna wobble.
The machines feel like living, breathing creatures rather than simple animated models, making combat more challenging and exciting.
My Go-To Implementation Patterns (With All the Code You Need)
Here are three patterns I use constantly. These took me way too long to figure out, so I'm sharing the exact code:
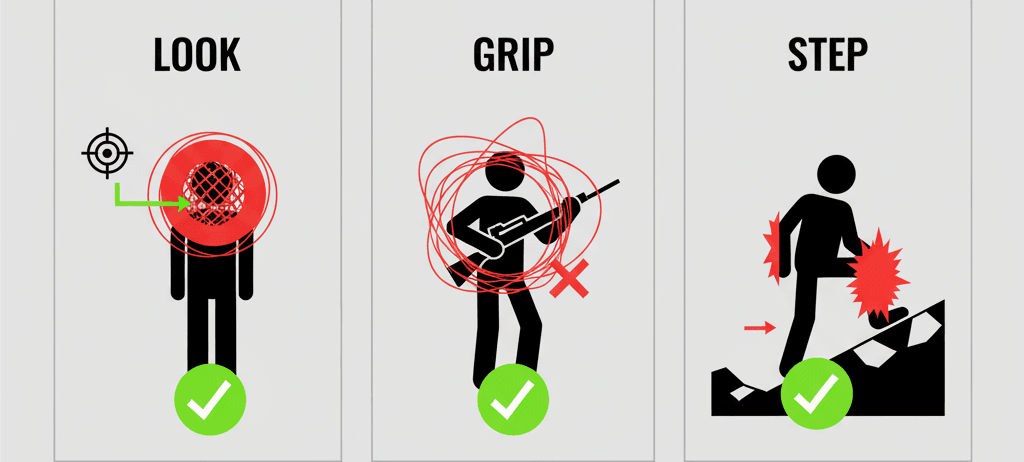
Pattern 1: Procedural Look-At That Actually Works
The Goal: Make a character's head and spine turn to look at a target, with limits to prevent unnatural rotation.
Setup: Skeletal Mesh character with a ControlRigComponent, Control Rig asset assigned, and a target Actor in the scene.
Step 1 - Get Target Location:
// In Character Blueprint's Event Graph (on Tick)
FVector TargetLocation = TargetActor->GetActorLocation();
MyControlRigComponent->SetControlVector("TargetLookAtLocation", TargetLocation);
Step 2 - Setup in Control Rig:
In the Setup event, get initial transforms of head and spine bones for reference blending.
Step 3 - Implement Aim Solver:
// In Control Rig Update Graph (Conceptual Nodes)
// 1. First Aim node for the spine
Item = "spine_03";
AimAxis = (1.0, 0.0, 0.0); // Point the bone's X-axis
UpAxis = (0.0, 0.0, 1.0); // Keep the Z-axis pointing up
Target = GetVariable("TargetLookAtLocation");

// 2. Second Aim node for the head, using the result of the spine
Item = "head";
AimAxis = (1.0, 0.0, 0.0);
UpAxis = (0.0, 0.0, 1.0);
Target = GetVariable("TargetLookAtLocation");
Step 4 - Add Natural Limits:
Use Aim node settings to clamp rotation angles, then use a Blend node to interpolate between original animation and procedural look-at based on distance to target.
Pattern 2: Two-Handed Weapon Grip (This One Saved Me So Much Time)
The Goal: Keep the character's left hand attached to a specific weapon point regardless of animation.
Setup: Character with Control Rig, weapon Skeletal Mesh attached to right hand via socket, weapon mesh with LeftHand_IK_Socket.
Step 1 - Get Socket Transform:
// In Character Blueprint's Event Graph (on Tick)
FTransform LeftHandSocketTransform = WeaponMesh->GetSocketTransform("LeftHand_IK_Socket", ERelativeTransformSpace::RTS_World);
MyControlRigComponent->SetControlTransform("LeftHandIKTarget", LeftHandSocketTransform);
Step 2 - Implement Basic IK:
// In Control Rig Update Graph (Conceptual Nodes)
// This node solves a 2-bone chain
RootBone = "upperarm_l";
EffectorBone = "hand_l";
EffectorTransform = GetVariable("LeftHandIKTarget");
Step 3 - Fix Hand Orientation:
Use a Set Transform node on hand_l after the IK, using rotation from LeftHandIKTarget to ensure proper weapon grip.
Pattern 3: Dynamic Foot IK Placement (Game-Changer for Terrain)
The Goal: Make feet plant realistically on uneven ground instead of clipping or floating.
Step 1 - Trace for Ground:
// In Control Rig Update Graph (Conceptual Nodes)
// For the left foot
Start = GetTransform("foot_l", "Global").Location + FVector(0,0,50);
End = GetTransform("foot_l", "Global").Location - FVector(0,0,50);
Radius = 5.0;
// This node outputs a Hit location and Normal
Step 2 - Calculate IK Target:
If trace hits, Hit Location becomes foot IK target. Hit Normal gives ground angle. Create Transform variable for IK target using Hit Location aligned with Hit Normal.
Step 3 - Apply Foot IK:
Use Basic IK node for the leg (thigh_l to foot_l), setting EffectorTransform to calculated target.
Step 4 - Adjust Hips:
// In Control Rig Update Graph (Conceptual Nodes)
// After the foot IK
OriginalFootLocation = GetTransform("foot_l", "Global").Location;
IK_FootLocation = GetVariable("Foot_IK_Target").Location;
Offset = IK_FootLocation.Z - OriginalFootLocation.Z;

// Apply a portion of this offset to the root bone
CurrentRootTransform = GetTransform("root", "Global");
NewRootLocation = CurrentRootTransform.Location + FVector(0,0,Offset * 0.5);
SetTransform("root", "Global", NewRootLocation);
For more IK implementation details, check the Unreal Engine Control Rig IK guide.
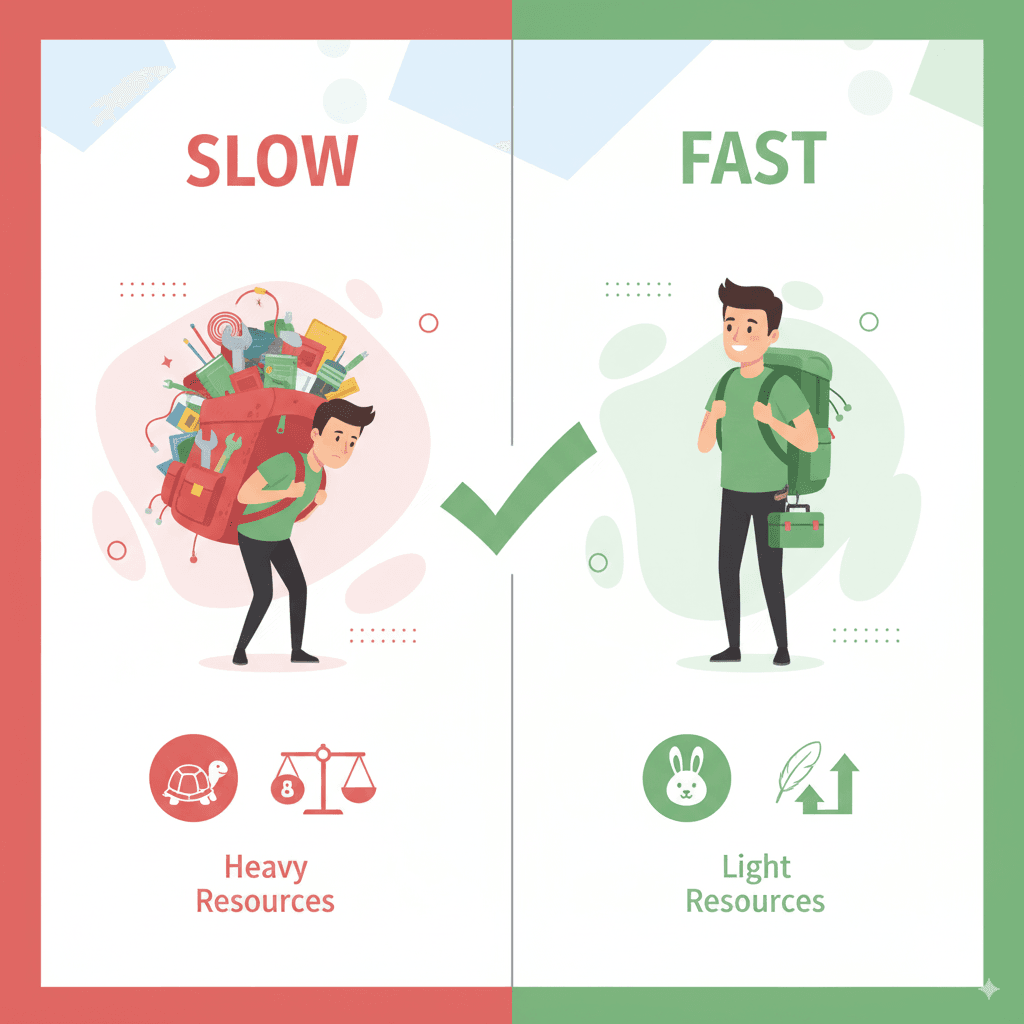
The Performance Mistakes I Made (So You Don't Have To)
Here's what took me way too long to learn about optimizing Control Rig vs traditional rigging in UE5:
- Separate Logic with Functions: For complex rigs, organize logic into functions within the Control Rig graph. Makes your execution stack cleaner and easier to read. Create functions like
Leg_IKcontaining all nodes for one leg. - Use Lightweight Solvers: Unreal provides multiple solvers. For simple tasks, use the lightest ones.
Basic IKis faster thanPBIK(Full Body IK) if you only need a simple two-bone chain. - Cache Variables: If you need a bone's transform multiple times per frame, use
Get Transformonce at the beginning and store in a variable. Avoids redundant calculations. - Control with Curves: Instead of snapping to IK targets, use Float curves driven by time or variables to smoothly blend IK influence on and off. Prevents jarring, robotic motion:
// In your character Blueprint, smoothly update Control Rig variables.
// Much better than instant changes.
float Alpha = FMath::FInterpTo(CurrentIKBlend, TargetIKBlend, DeltaTime, 5.0f);
MyControlRig->SetVariable("IK_Blend_Alpha", Alpha);
- Leverage Construction Script for Setup: Use Construction Script to procedurally set up rigs based on character skeleton. Automatically find "foot" bones and create IK controls.
The Control Rig Best Practices documentation covers more optimization techniques.
What You'll Actually Gain from Mastering This
After working with Control Rig for years, here's what it really gives you:
- Dynamic & Adaptive Animation: Characters react to their environment in real-time, creating more believable and immersive experiences.
- Reduced Animation Asset Creation: Create single animations that adapt to many situations instead of needing dozens of static variants. One "aiming" rig instead of separate animations for aiming up, down, left, and right.
- Cleaner, More Maintainable Code: Animation logic stays self-contained within Control Rig assets, separated from complex character blueprints. Much easier to manage and reuse.
- Empowers Technical Artists: Provides a powerful, node-based interface for creating sophisticated animation behaviors without complex C++ code.
- Enables Advanced Gameplay: Makes realistic weapon handling, convincing character stumbling and falling, and creatures with procedural locomotion actually possible.
Your Next Steps with Procedural Animation Using Control Rig
Start small. Pick one simple IK problem in your current project - maybe making a character's hand stick to a door handle, or having their head look at the player. Get that working first.
Then gradually add complexity. The patterns I shared above cover 80% of what you'll need for most games. Master those, and you'll have a solid foundation for anything more advanced.
Most importantly, experiment. Control Rig is one of those systems where hands-on practice teaches you more than any tutorial can.
Ready to Start Building Your First Game?
If you're excited about applying these Control Rig techniques in a real project, I've got something that might help. I created a comprehensive course called "Mr. Blocks" that takes you from absolute beginner to building professional-quality game experiences.
The course covers everything from basic game mechanics to advanced animation systems like the ones we discussed today. You'll build multiple projects, learn industry-standard workflows, and develop the skills studios actually look for.
Most importantly, you'll learn by doing - building real games that you can show in your portfolio. No theory-heavy lectures, just practical, hands-on game development.
Check out the Mr. Blocks course here and see if it's the right next step for your game development journey.
Wrapping Up This UE5 Control Rig Tutorial Journey
Control Rig transforms static animation clips into dynamic, responsive character behavior that actually reacts to your game world. Instead of fighting with dozens of pre-made animations that never quite fit, you create intelligent rigs that adapt in real-time.
The learning curve is steep initially, but once you grasp the core concepts - especially the difference between Setup and Update events, and when to use IK versus FK - you'll wonder how you ever animated characters without it. Start with simple look-at or hand IK problems, then build up to the more complex foot placement and full-body systems.
Your players will immediately notice the difference. Characters that feel grounded, responsive, and alive rather than robotic and disconnected from their environment.
Key Takeaways
- Control Rig creates dynamic, adaptive character animation that responds to real-time game conditions instead of relying on static animation clips
- Setup Event runs once during initialization to create rig hierarchy and controls, while Update Event runs every frame to calculate procedural poses
- Inverse Kinematics (IK) is more intuitive for most tasks - you define target positions and let solvers calculate joint rotations automatically
- Basic implementation patterns like procedural look-at, two-handed weapon grips, and dynamic foot placement cover most common animation challenges
- Performance optimization requires using lightweight solvers, caching frequently-accessed transforms, and organizing complex logic into functions
- Real games like The Last of Us Part II, Gears of War, and Horizon Zero Dawn demonstrate Control Rig's power for creating believable character-world interactions
- Start with simple IK problems in your current project before attempting complex full-body procedural animation systems
- Animation retargeting with Control Rig enables reusable rig logic across different character models and skeletal hierarchies
Common Questions
Control Rig is a node-based system that creates flexible, dynamic character animations that can adapt to game conditions in real-time, rather than playing static pre-made animation clips.
Use Control Rig for procedural and adaptive animations like characters aiming at moving targets, feet adapting to uneven ground, or hands gripping objects. Use Animation Blueprints for standard animation playback and state management.
Begin with simple two-bone chains like arms or legs. Set up a Basic IK node, define your bone chain from root to effector, and create a target transform. Practice with hand placement before moving to more complex full-body IK.
FK involves directly rotating parent bones in sequence to position child bones. IK works backward - you set where you want the end bone and let the solver calculate parent rotations. IK is more intuitive for most gameplay scenarios.
Control Rig can be more performance-intensive since it runs calculations every frame, while baked animations are pre-computed. However, proper optimization with lightweight solvers and variable caching keeps performance manageable.
Control Rig is primarily designed for 3D skeletal mesh animation in Unreal Engine. For 2D character animation, you'd typically use Paper2D or other 2D animation systems.
The three most useful patterns are procedural look-at (head and spine tracking targets), two-handed weapon grips (IK hand placement), and dynamic foot placement (adapting to terrain).
Use constraints to limit joint rotations, blend between original animations and procedural poses using Alpha values, and clamp rotation angles on Aim and IK nodes to maintain realistic movement ranges.
Use Basic IK for simple two-bone chains like arms or legs when you only need to position one end effector. Use PBIK when you need to solve multiple IK targets simultaneously across the entire body.
Control Rig logic can be retargeted between different character skeletons by remapping bone names and adjusting bone chain definitions, allowing you to reuse rig setups across multiple character models.